The Swarm Trapping box.
The essential tool for every beekeeper. Swarm collection boxes are a little known tool, that have many advantages. Essentially they allow a beekeeper to catch a large swarm and hold it in a safe, sealed environment, that is natrually cooled, until they can be transfered later in the day to the suitable nuc or hive.
.JPG)
Construction.
Ok, like i said this is not an easy build. I didnt take pictures during my first go at making this box, just as well really as it was a bit of a disaster. I recomend you start with the top handle end piece of ply and using panel pins and glue, you attach one of the four sides. Then when thats dry, attach then next ajoining side, but support it as you first attach it to the handle end.
You are then left with the first long corner/ two sides pieces to join. Do this with great care, plenty of glue and i recomend you avoid using panel pins apart from on the handle end.
Use grab adhesive and let it dry. It will be super strong when dry, but let it dry completely before attempting the third and fourth side. When the fourth side is attached , this will need to be glued along the two remaining edges but take your time, its very difficult to get right before you push the two sides , glue and corner beading together, but once this dry you can then proceed to all the parts, without worry.
You will be surprised just how strong this box already is.
The rest is common sense.
There are two ventilation holes you need to make in opposite sides of the box.
Once the swarm is inside and the bottom is closed off you can open the two holes up, exposing the bees behind the mesh, fresh air will enter in to the box from the lowest hole and exit by the highest hole. The biggest problem with transporting swarms is overheating in the transport stage if no ventilation is given to the 10,000 or so bees!!
I have posted loads of pictures of the box if you wish to try and copy it.
If you have any further questions then the please dont hesitate to contact me. It really is a tricky one to make. not quite as bad as a bee lining box, but not far off!
The essential tool for every beekeeper. Swarm collection boxes are a little known tool, that have many advantages. Essentially they allow a beekeeper to catch a large swarm and hold it in a safe, sealed environment, that is natrually cooled, until they can be transfered later in the day to the suitable nuc or hive.
How it works
Swarming bees have natural perpensity to migrate or move towards dark holes! so basically if you put a box or tube above a swarm, theres a strong likelyhood they will move in to it!
Swarms hang on trees for the main reason to leave the hive, rest somewhere nearby in case of bad weather and send out scout bees to seek a new place to colonise. During this time we see the classic swarm hanging from a tree, on a building, washing line etc. This gives us that window of opportunity to capture the swarm either by shaking it in to a box, swarm catching box or hive. However, if its a difficult access, the this box could just get you out of trouble.
You can just place the box somewhere just above the centre of the swarm, then leave them settle for a few minutes. You can give a couple of puffs of very light smoke to the edges and this may just help edge them in to moving up.
If you have no Nuc and you simply shake your swarm on the ground then you can simply place the box over the top of the swarm and they should, after a few moments of confusion start to fan on the front landing strip to draw the others in to the box
My first swarm trapping box!
.JPG)
Size: 60cms x 30cms x 30cms.
Materials: (top square with handle) 16mm exterior ply. The main body 1.5 to 3 mm exterior ply. A good quality wood adhesive with grab action necessary. Corners: and edges are made from corner beading. Doors 1.5mm ply with various sized pieces of square and u shaped beading for the door runners. Mesh screening for the ventilation doors.
Cost: approximately 40euros.
Advantages:
Light weight. Gives you total flexibility. You can hold a small or large swarms. No need to put the bees straight in to a heavy cumbersom nuc of hive. You can charm the bees in to this box on a ladder, in a tree or in places where the normal nuc is just not practical.
No need to carry a nuc around . Typically you will have your used your spare nuc that moring and havent had time to get another hive from your shed!
The box itself is big enough to take all the rest of your gear including Smock, smoker, fuel , bee brush and hive tool so if have that all ready,all you need do is keep it handy, in the back of your car.
Disadvantages
This box is very difficult to construct and is very time consuming!
Once bees are in the box bees need to be transfered in to a hive within hours, as they will natrually start to draw comb inside the comb.
As with all transfer of swarms in to hives or nucs, by putting a swarm in to its non permanent position you are by choice, risking damage to the queen and or its colony, as you will subsequently have to transfer it to its final position later on. However with a little experience in handling swarms you can very easily avoid over handling and minimise the possible damage and loss to bees.
Click on the link to see the box in action
Construction.
Ok, like i said this is not an easy build. I didnt take pictures during my first go at making this box, just as well really as it was a bit of a disaster. I recomend you start with the top handle end piece of ply and using panel pins and glue, you attach one of the four sides. Then when thats dry, attach then next ajoining side, but support it as you first attach it to the handle end.
You are then left with the first long corner/ two sides pieces to join. Do this with great care, plenty of glue and i recomend you avoid using panel pins apart from on the handle end.
Use grab adhesive and let it dry. It will be super strong when dry, but let it dry completely before attempting the third and fourth side. When the fourth side is attached , this will need to be glued along the two remaining edges but take your time, its very difficult to get right before you push the two sides , glue and corner beading together, but once this dry you can then proceed to all the parts, without worry.
You will be surprised just how strong this box already is.
The rest is common sense.
There are two ventilation holes you need to make in opposite sides of the box.
Once the swarm is inside and the bottom is closed off you can open the two holes up, exposing the bees behind the mesh, fresh air will enter in to the box from the lowest hole and exit by the highest hole. The biggest problem with transporting swarms is overheating in the transport stage if no ventilation is given to the 10,000 or so bees!!
I have posted loads of pictures of the box if you wish to try and copy it.
If you have any further questions then the please dont hesitate to contact me. It really is a tricky one to make. not quite as bad as a bee lining box, but not far off!
Base showing door section runners on 3 sides.

Bottom door in place. Note, when front tray is in contact with the third and rear runner, the front door is still ajar by about 1.5 cms. This created the perfect access for the bees, a nice small landing area with good access i and out of the front and none anywhere else.

Internal View of the box. you can clearly see the off-set ventilation doors

The front totally closed . I have a simply pin that joins the two front wooden blocks, thus closing and locking the front of the box.

Side ventilation removed

Reverse view of lower door.

So if you manage to get all the above right and believe me its a challenge, you are ready to put it to use.
I have also posted some pics of swarms I have caught and also my beekeeping teacher has allowed me to publish for the purposes of demonstrating this box.
Swarm on top of a bee trap
This happend last summer. A swarm arrived at my trap, obviously the queen didnt want or like the look of what her scout bees guided to, so they all settled on top of the box.I returned a day later after discussing this problem with my mentor and he suggested brushing the bees in to the box if they were still on the box after a day. This i tried and they all took to the air to my disbelief! They circled the garden and then fortunately landed on a shrub in the garden in and ideal swarm shape.


Swarm lands on raspberry branches.
This time the branches, nearly on the floor were bent down between two bricks for extra gap between the grass and the box and the bees simply went up in to the box.
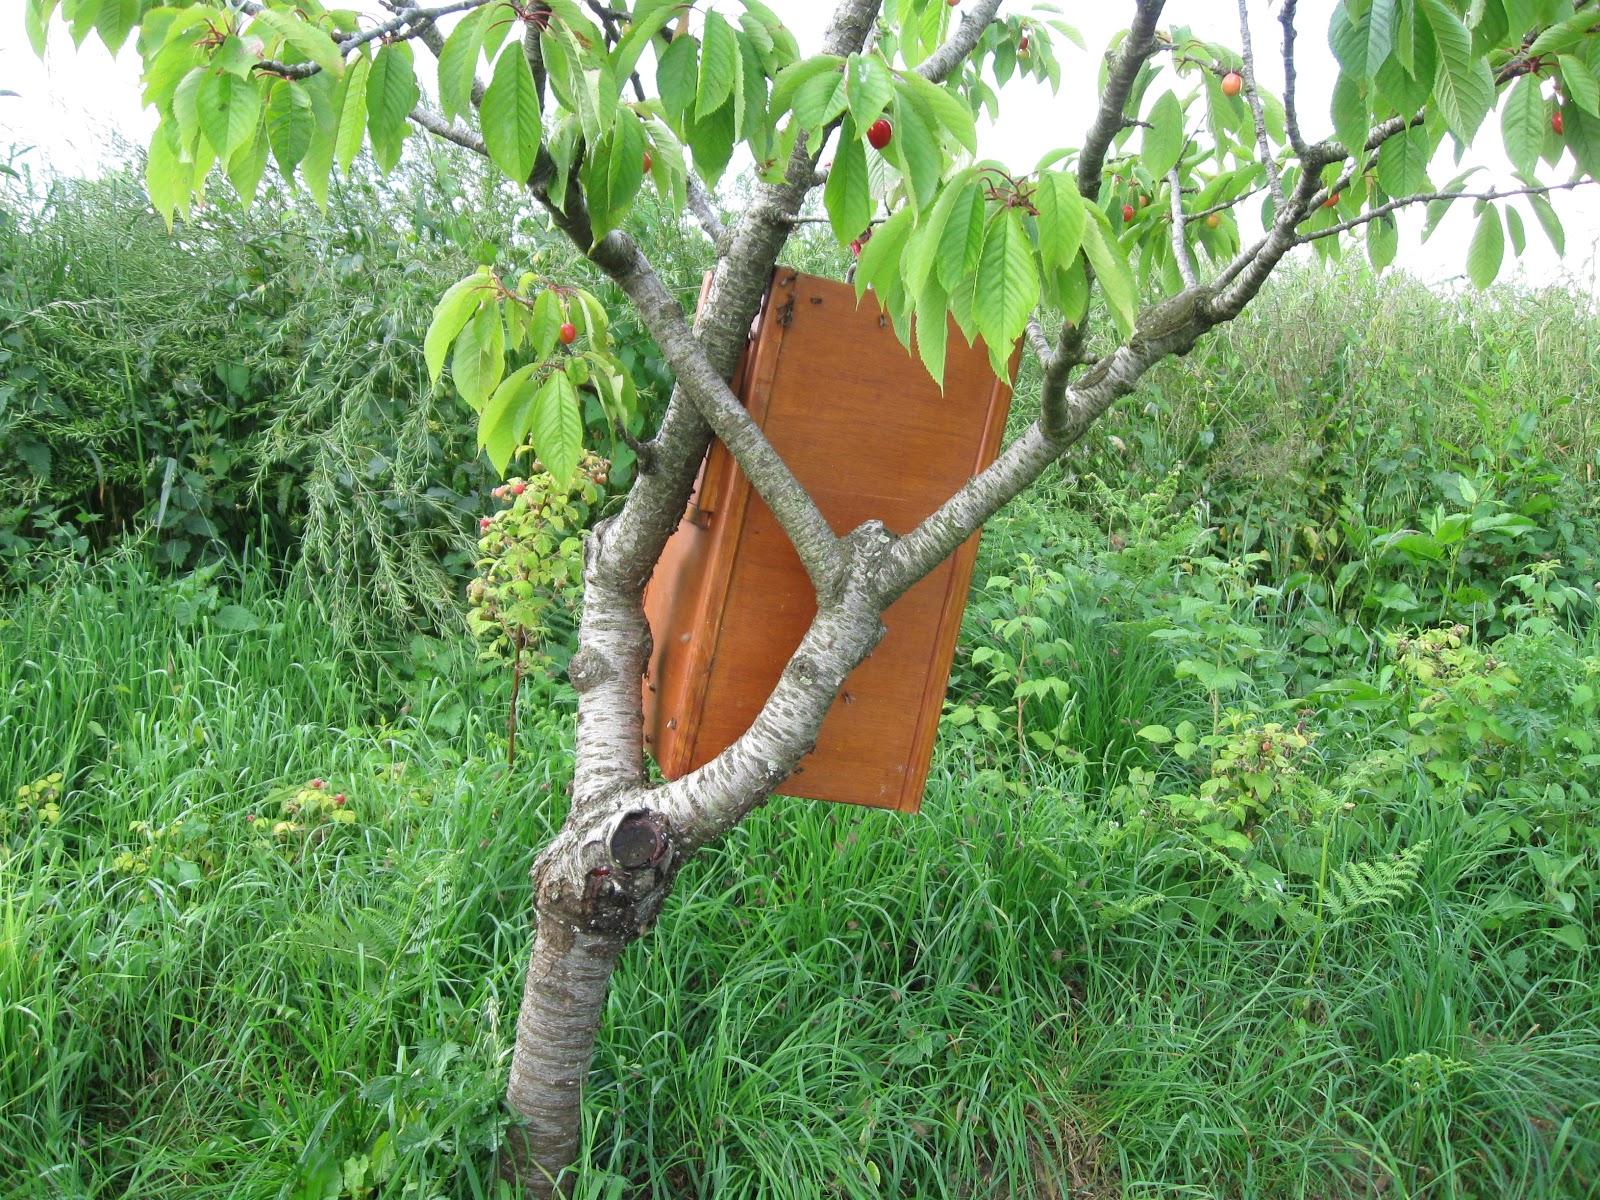
Swarm found around the base of cherry tree
This next sequence of photos shows the swarm before , the positioning of the box and the subsequent transfer of the bees in to the box.

The box in hung with the opening, just about one third from the top of the swarm.


All Bees inside, time to close off the bottom door and open up the side vents.
Closing off the bottom tray is a dilema, but normally you will loose no more than 10 or 20 bees. If you are not sure when to close of the door, then wait a little longer until more are in, but beware! they may change their minds and abscond at any time,leave the box and settle elsewhere, so be warned! Generally though they seem to want to settle for a while, making this easy.
Best of luck! Many thanks to my beekeeping teacher, Mr Charles Basset, for allowing me to use some of his pictures and video!
Pictures here Charles captures a swarm on a washing line. Beautiful swarm!!!!


